

I love Halloween. I do not, however, love the costumes found in the costume isles or in the Halloween stores for one reason or another (quality, $$$, etc). I especially don't love the costumes for little girls. But I won't go there today. I will just say that I think I will be making Halloween costumes for the rest of my life. And I will be happy to do it.
Bella finally decided, with a little persuasion from me, to be Strawberry Shortcake for Halloween. Her costume was pretty simple to throw together. I appliqued felt diamonds and a strawberry on a plain white t-shirt, bought some tights at one of those Halloween stores, and made a tutu. I admit that I think her costume would be a lot cuter with a simple elastic waistband skirt that matches the hat, but she loves tutus and I know her tutu years are limited. She loves it and feels magical in it so that is good enough for me. When she wears her costume for real I will probably curl her hair and paint a little strawberry on her cheek and maybe give her some freckles. I know there are pink strawberry shortcake wigs out there that you can buy for little girls, but I didn't want to spend the money on one or the time tracking one down. So basically the only thing I was perplexed on was her hat and I wasn't able to find any good tutorials out there for the right kind of hat. So here you go. It isn't the fanciest tutorial, but I hope you will get the picture.
This costume is based on the latest version of Strawberry Shortcake.
First: Make the brim
I got out my daughter's baseball hat and traced the shape of the brim onto a Costco milk box. I then cut it out and wrapped it in duct tape as suggested in this Threadbanger brimmed beanie tutorial.

I then traced around the brim on some wool felt. This is the same felt that I used to applique diamonds on her t-shirt. Make sure to leave enough room around the brim for a seam allowance - at least 1/2".

I actually only cut around the bottom and left the top flat.

Sew around outside edges and flip it right side out so that it looks like this.

Stuff your taped cardboard brim inside and trace around the inside edge of the brim.

Sew along that line sealing the brim inside. Trim about 1/2" - 3/4" leaving enough material to sew to hat.

For the rest of the hat I took a one yard cut of pink fabric and cut it 10" deep. So I had a strip of fabric 36" x 10". I then cut three 6" slits dividing the strip into fourths. My fabric was folded into fourths already so I cut along the fold marks. Here is a good tutorial that I used for the method. I just had to find a way to make it bigger and floppier.

After you have your sections notched, create a football shape for each section. I folded each section in half and sketched something like this. Cut.

This is what it should look like when you are finished. I must have gotten a little lazy on the last one because it looks more like a triangle than a football.

Next sew adjacent sides together and do a basting stitch along the bottom edge. It should start looking kind of showercapish.

Next take a piece of wide elastic and measure it around your child's head. I happened to have some underwear elastic so that is what I used. Sew it into a circle.

Pin the hat to the elastic, gathering it evenly along the basting stitch as you do so. Sew the hat to the elastic. The other option would be to make a casing for the elastic. I just thought this was a lot easier.

Now, I had pictures for the rest of this process but my own dear Strawberry Shortcake got a hold of my camera and deleted them. Basically I took the elastic and flipped it towards the inside of the hat and sewed it in place. I then centered the brim and sewed it onto the hat above the elastic part so that the elastic part is not visible from the top.
You are now finished (unless you want to embelish with a strawberry or green felt leaves on top)
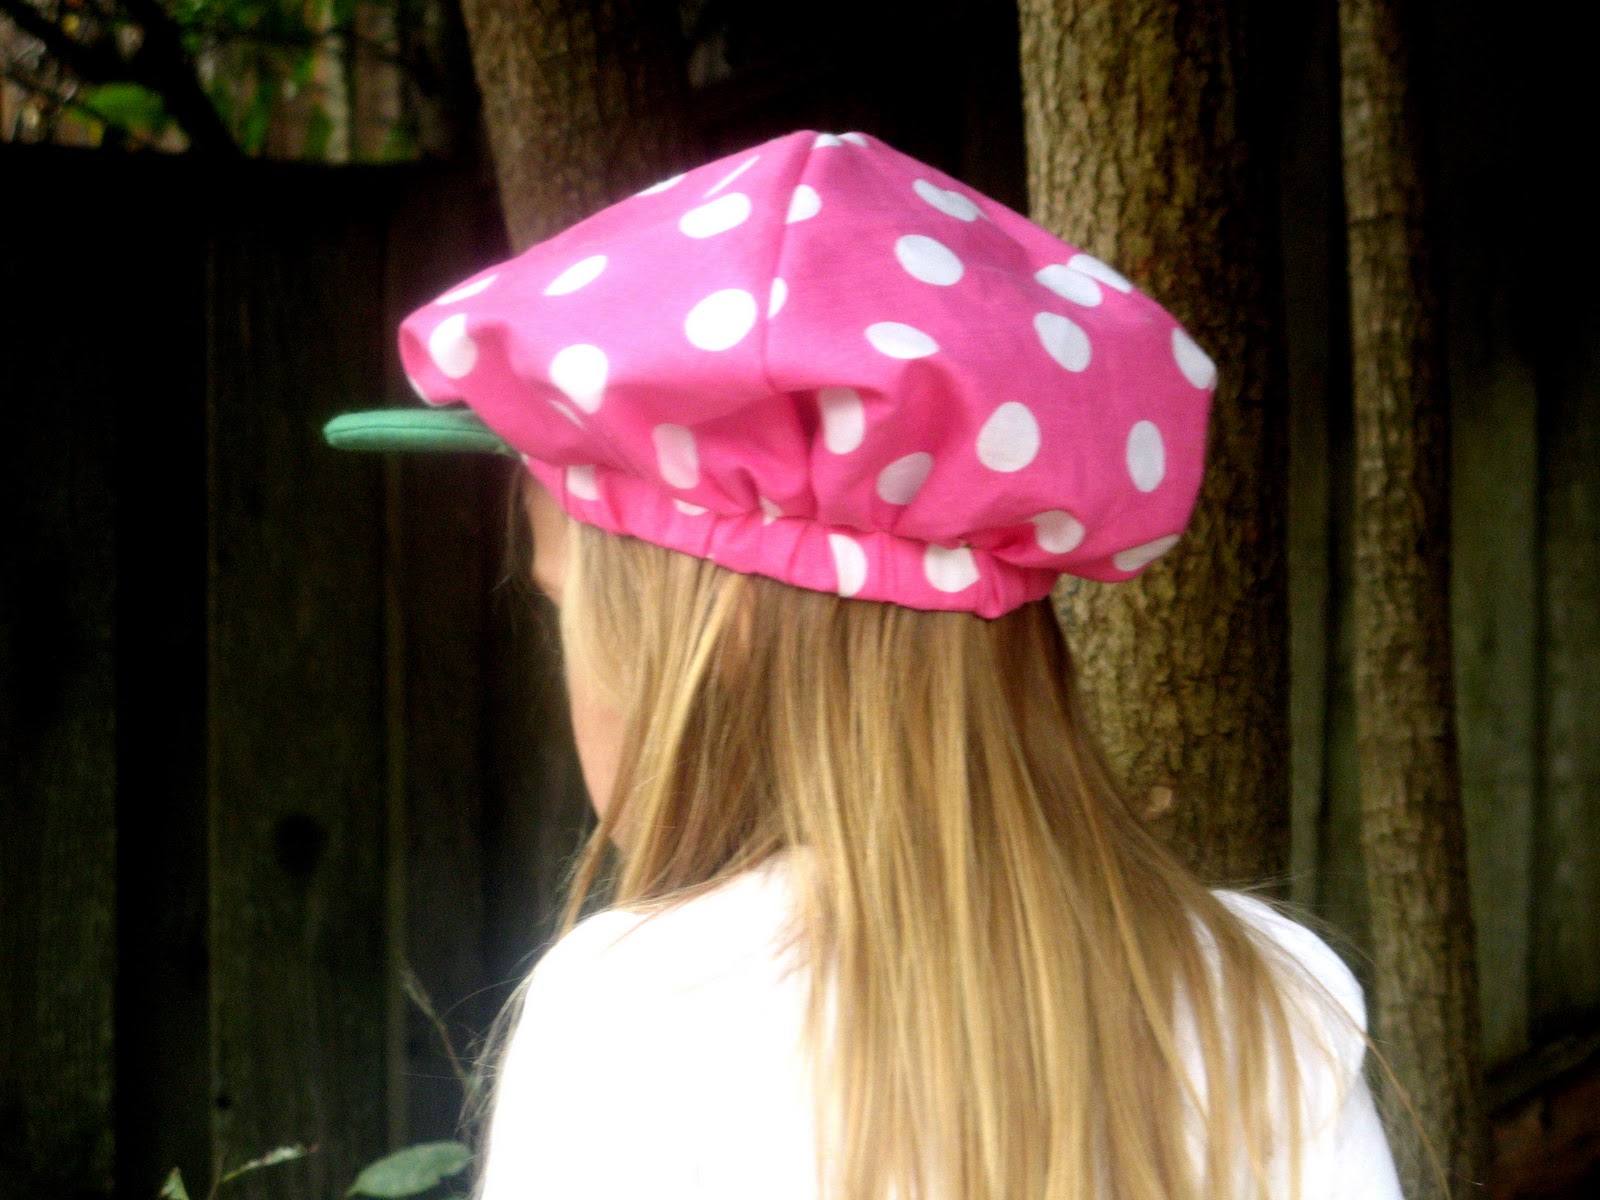
Hopefully this picture will give you an idea of what it should look like.

Here is the whole costume. I have debated doing a strawberry purse, but I don't know if I will get to that - maybe when I convince my baby to be Strawberry Shortcake two years from now :)

(Please don't use pictures without permission)
XO
Maren


